Gynotations
“Gynotations” is an application to help physicians keep track of their surgical procedures and hospitalized patients. It is not meant to suggest or dictate any medical care. That is the sole responsibility of the physician.
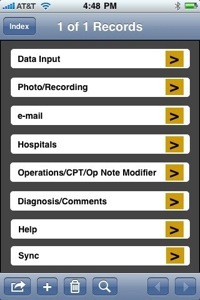
To add records, press the + button on the bottom of any page layout. The “iphone” scroll bar is one method of choosing the preferred layout. Alternatively, the “Index page” allows the user to go directly to a specific menu in order input data.
Touching the right, gold arrows or any of the fields will allow you to go to the correct page that you are looking for. On those pages, the top BOLD TYPE headings when tapped will take you back to the “Index” layout. Most of the fields on the data input page are self explanatory.
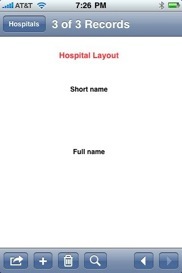
The first layout that the physician should fill in is the “Hospitals” layout. If you intend to ultimately use this application with its desk top companion, you will need this information to write your operative report. The short name contains numbers referable to the physician’s primary and secondary hospitals. The application defaults to hospital “1” which is your primary hospital. In printing operative reports, the program will write out the full names of the hospitals based upon the hospital number.
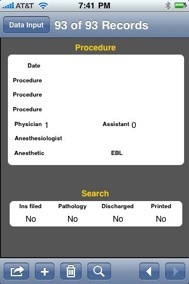
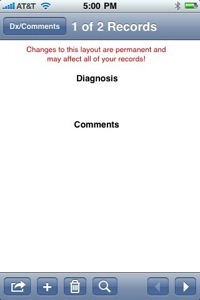
The application will automatically fill in information relative to the procedure performed and the operative report for those physicians synchronizing their data with their computers. The “Dx and Comments” layout fills in information regarding important findings relative to specific diagnoses. Changing any of the information in these fields will modify all future reported results, so be careful! You can easily customize information regarding a myriad of diagnoses.
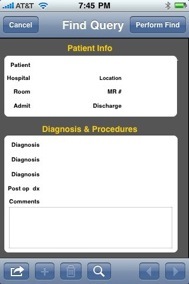
If you wish to e-mail information, at the bottom of the “Data Input” layout is a field entitled “Printed”. It defaults to “No”. If you want to see which patients have not yet been printed tap in this field after the “find” icon (magnifying glass) at the bottom of the screen has been depressed and select “No”. Select “find” and then click the “Perform Find” field in the right upper corner and all patient’s records that have not been printed now appear. You may change this field to “Yes” after the report has been e-mailed to you for placement in a chart or for billing purposes.
For those physicians who are synchronizing their iPhone’s with their desktop computers, this will automatically be completed if a discharge date is less than or equal to today’s date.
Other search parameters such as “pathology reports” or “Ins filed” to track that your billing has been sent out (Internal audit of your practice) may also be performed. These searches may be performed on the iPhone or on your computer.
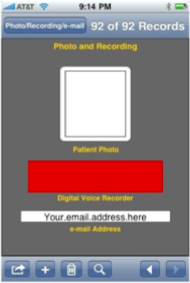
The layout entitled “Photo/Record/e-mail” keeps records for storing photos of your patients or digital voice recordings. For example, by selecting the Digital Voice Recording field a dialogue box entitled “Play/Record Sound” opens. Select “Play/Record Sound” and depress “Record” and 30 seconds of speech may be recorded. Click “Done” when completed. You may take a picture of your patient and import it into the “photo” field. If you make recordings or take pictures of patients and synchronize with your desk top computer, you will see a message the first time that you sync as where the “container” is. The computer is asking where to store pictures or voice recordings. The easiest is to create a folder on your desktop entitled “container”. Alternatively, you can have these files stored anywhere.
Fill in your e-mail address once and all of your future records will use this e-mail address for sending reports to you for billing purposes as well as keeping copies of procedures performed for the chart. When used with computer synchronization, all of these tasks are automated.
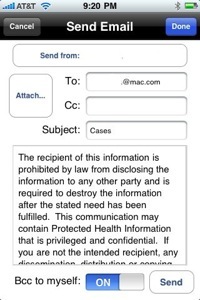
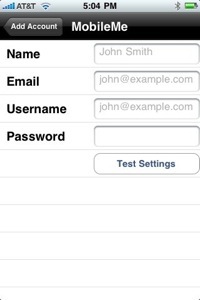
If you go to the “Index” page, one of the fields is entitled email. This allows for sending your surgical cases for billing purposes to any computer that you choose. Once you have input all of your data regarding a specific case, go back to the “INDEX” layout and click on “e-mail”. The first time that you open this page, your iphone will ask for pertinent data relative to your e-mail account. Click on “Accounts” if not already selected. It will ask for your name, e-mail address, user name of your e-mail account and password. When these are filled out select “Test Settings” and make sure that the information that you have submitted is working properly.
Once you have filled out the account info, in the future when you select e-mail from the INDEX LAYOUT an e-mail layout will open. Make sure that your e-mail info has been properly inserted as well as any covering physician that you have selected. Next select “Attach” to allow a PDF of the message to be mailed. Select “Send” and your on call message will be sent to your computer. THE E-MAIL PROGRAM WILL ONLY WORK FROM THE “INDEX PAGE”.